
Masterplan Render
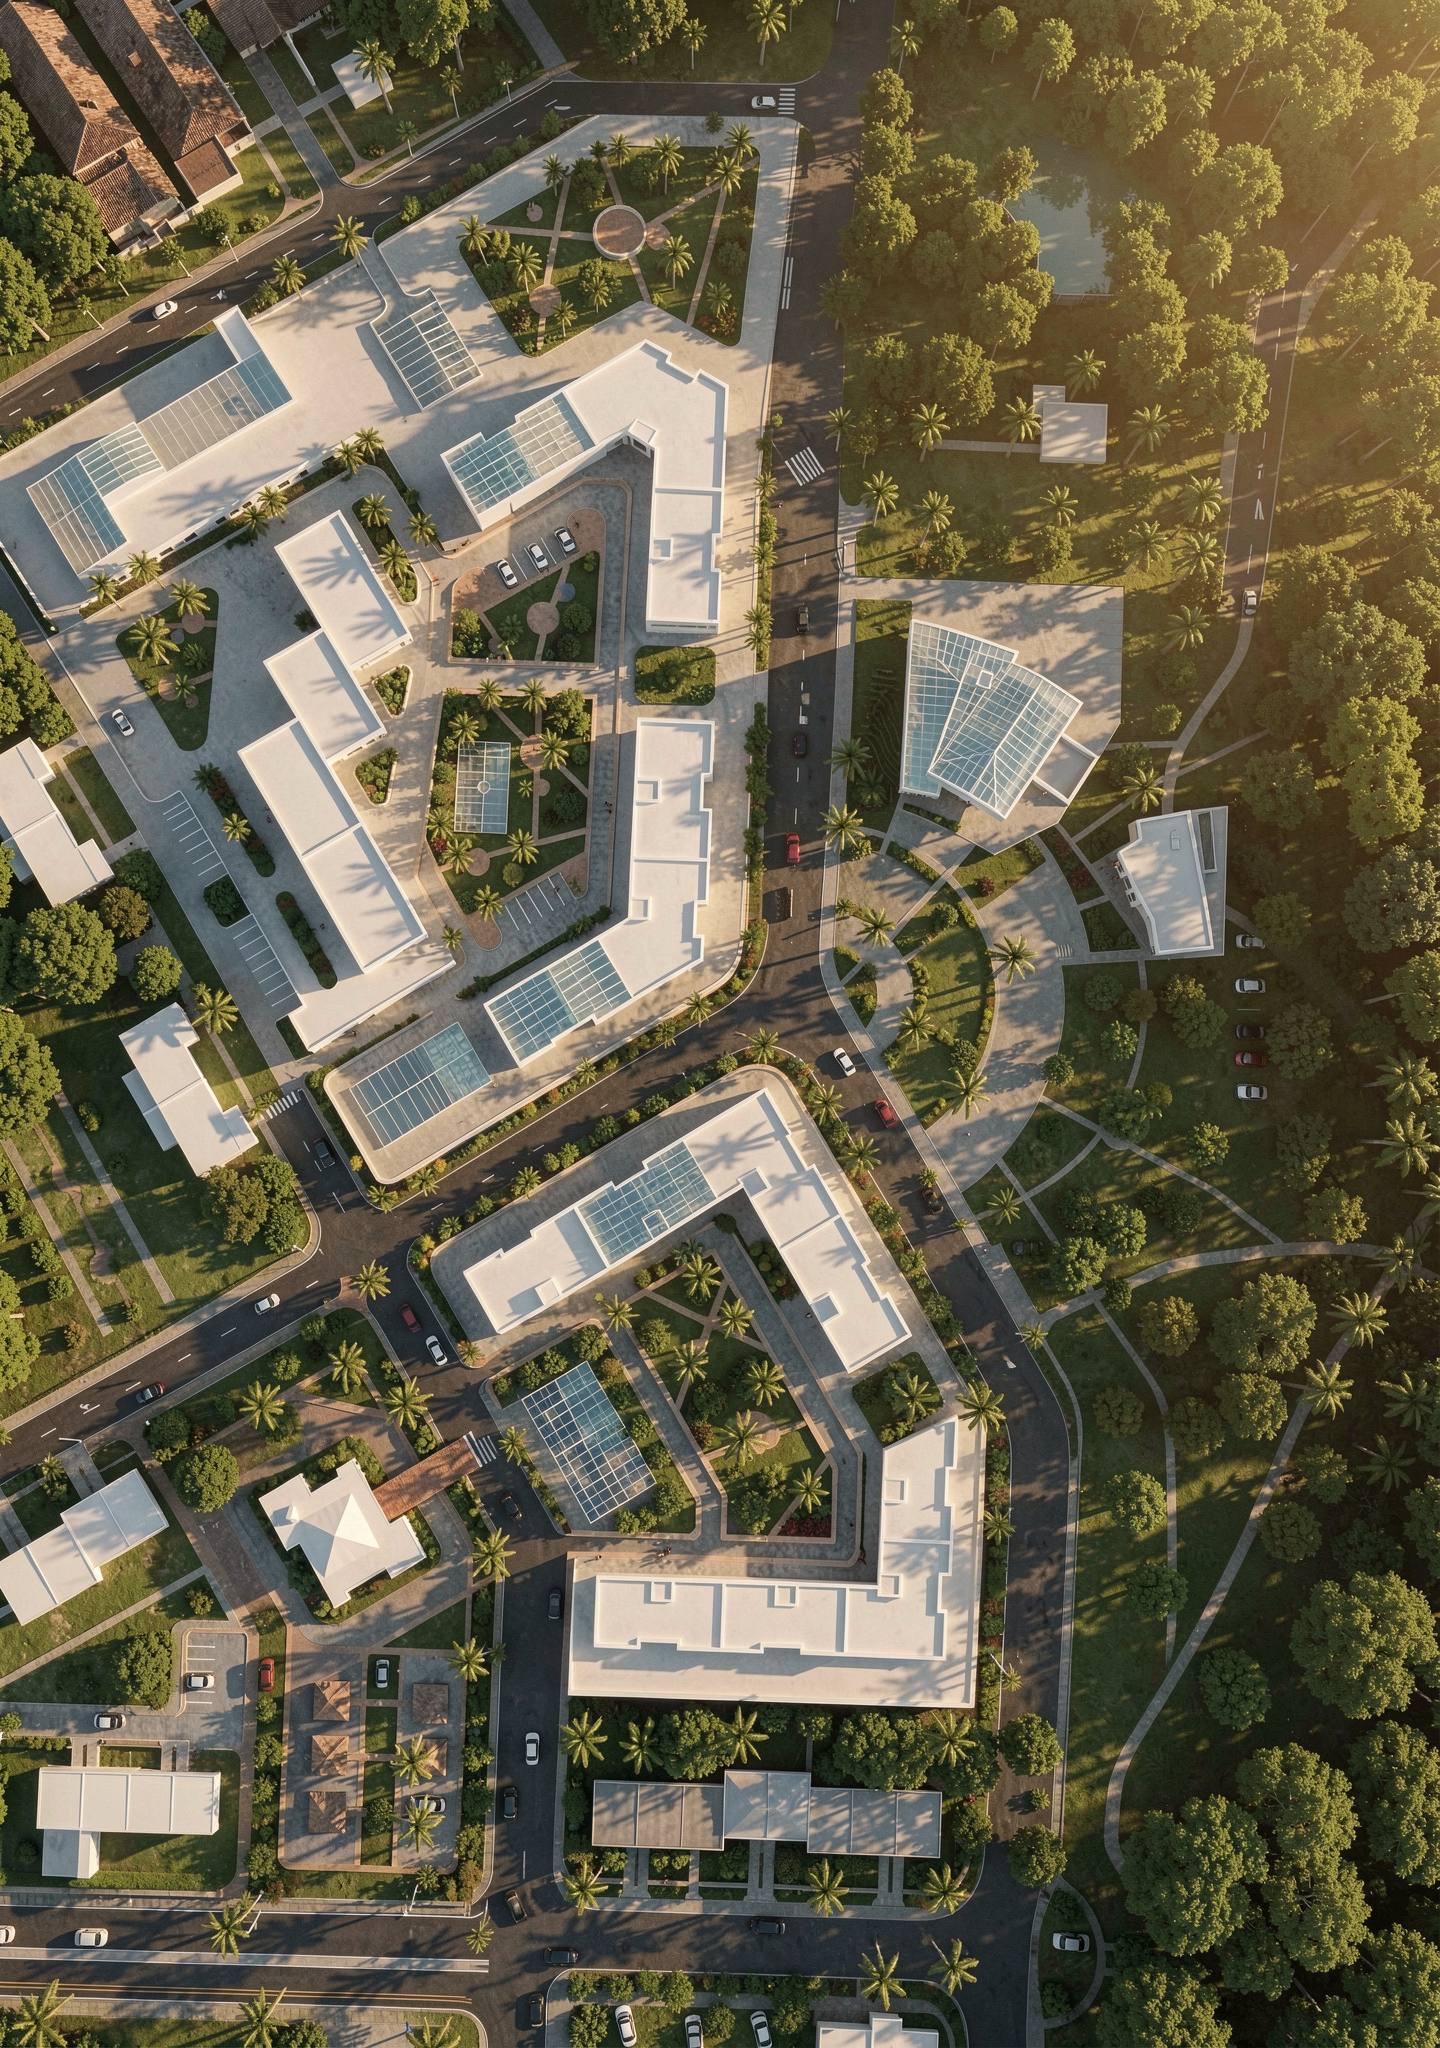
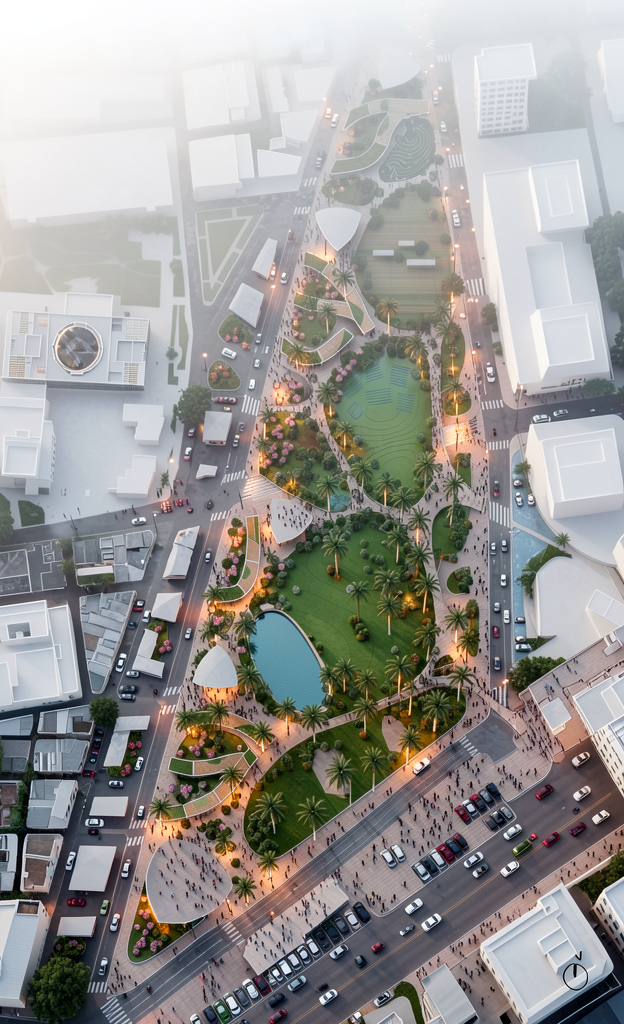
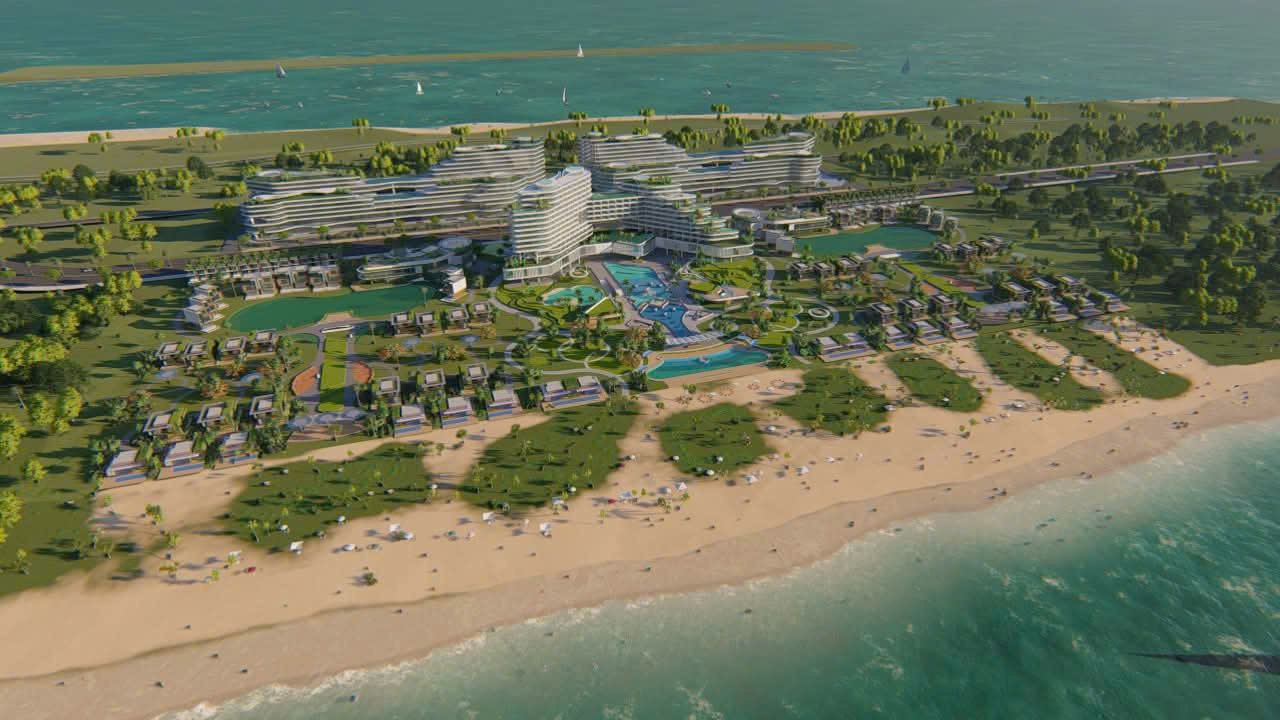
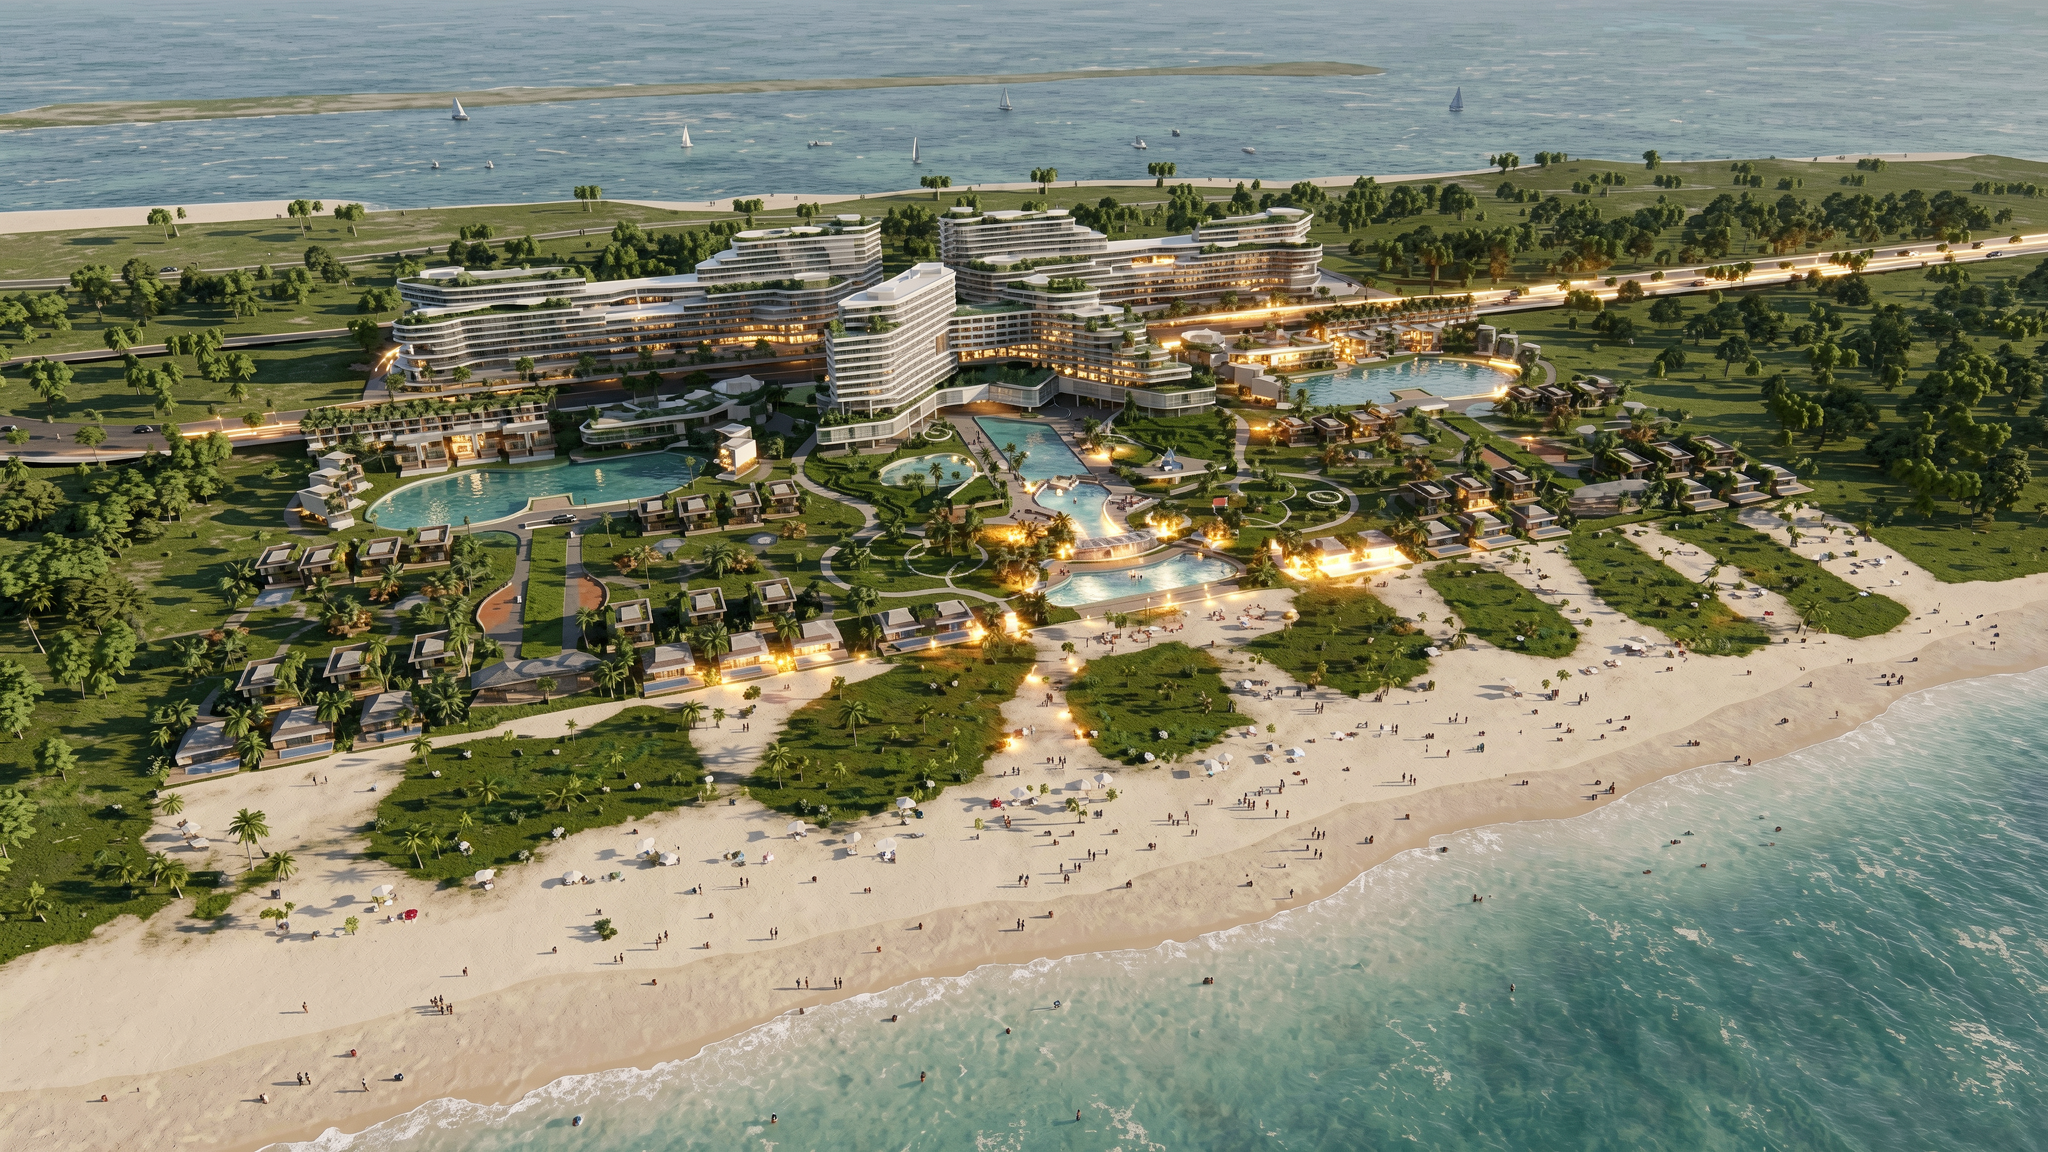
Transform urban planning and masterplan screenshots (captured from 3D software) into realistic visualizations.
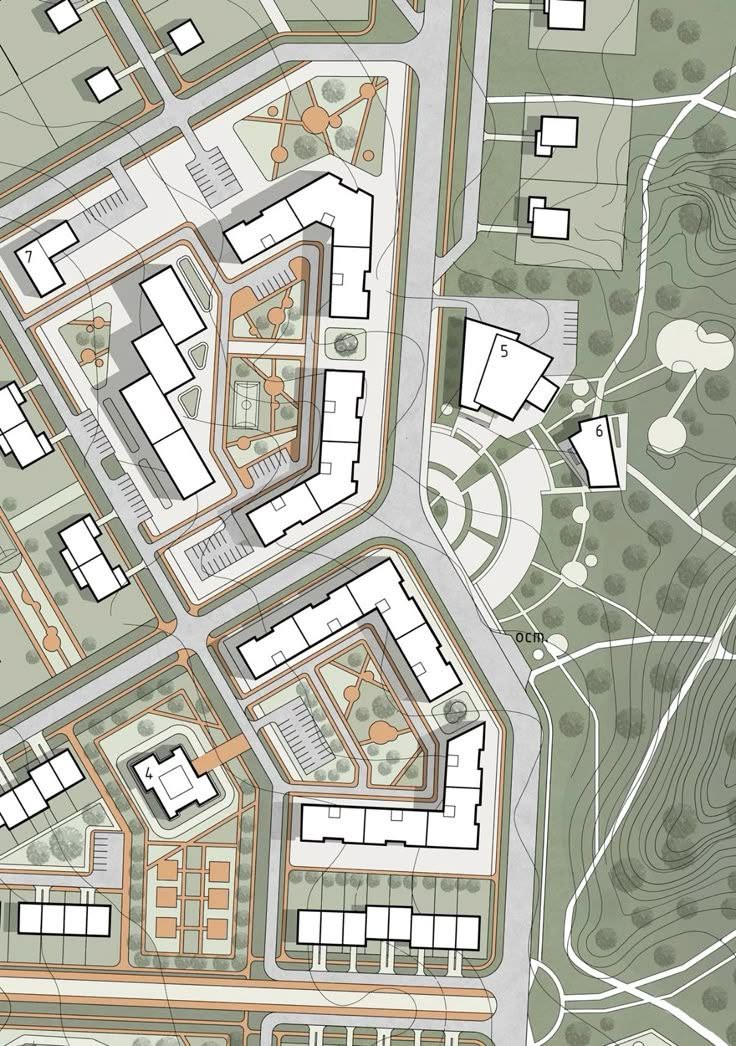
 Before
After
<>
Before
After
<>
Purpose
Transform urban planning and masterplan screenshots (captured from 3D software) into realistic visualizations.
Customize weather, environment, surroundings, atmosphere, project style, and scene settings to match your design intent.
Instruction
Step 1: Drag and drop your screenshot or planning image into the "3D Masterplan Image" section.
Step 2: Choose either "Basic Mode" or "Advanced Mode" depending on your workflow, then configure the appropriate prompt.
Step 3: Set the "Image Generation Steps" (recommended: 4 or 6) and select the "Image Size" (up to 2K).
Step 4: Click "Render" and wait for the result.
Notes
For higher-quality outputs such as 4K, 8K, or 10K, use the "Upscale" or "Upscale Pro" feature.
Open the "History" panel.
Drag the newly rendered image into the "Original Image" section.
Select your desired output resolution.
Start the upscaling process.
Tip:
For best results, use clear screenshots with visible building massing, roads, landscape elements, and site boundaries. Higher-quality source images generally produce more realistic renderings.
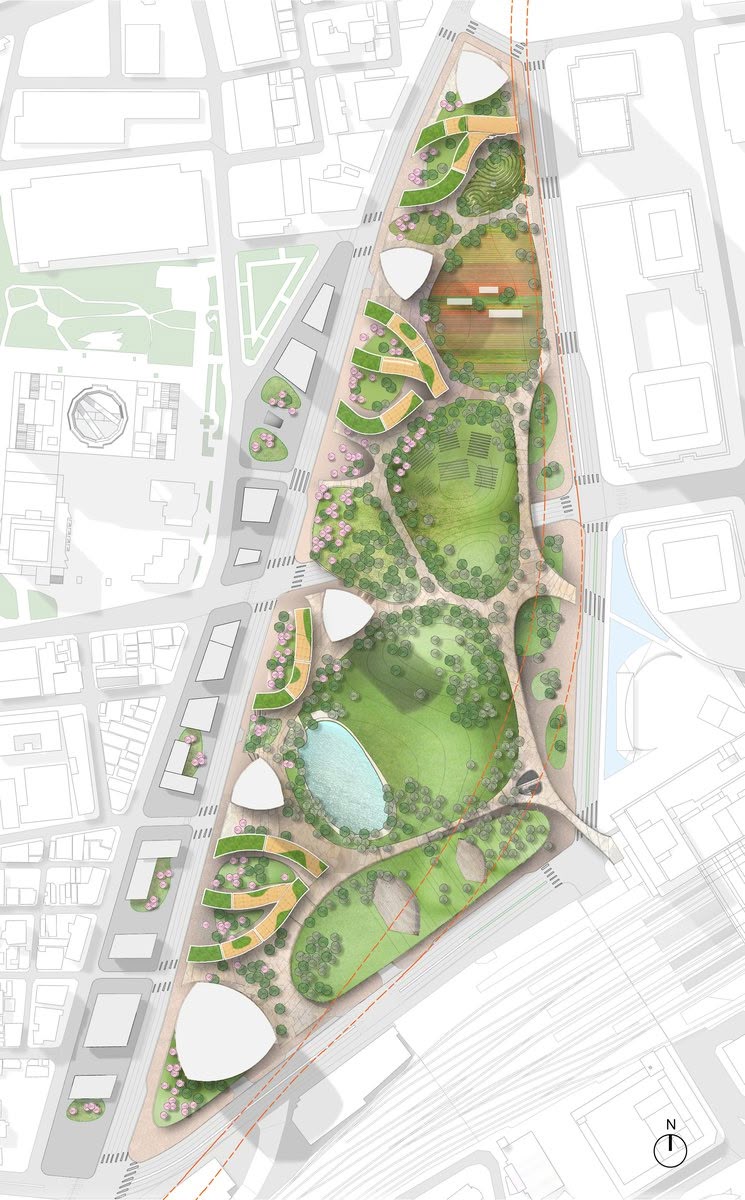
 Before
After
<>
Before
After
<>
 Before
After
<>
Before
After
<>